방법 - 무료 웹사이트 만들기
W3Schools Spaces로 웹사이트를 구축하고 호스팅하세요.
몇 번의 클릭으로 무료 웹사이트를 시작하세요.
필요한 모든 것이 브라우저에 있습니다.
사용하기 쉽습니다. 사용해 보세요!
무료로 시작하기 »W3Schools Spaces로 첫 번째 웹사이트 만들기
W3Schools Spaces 는 코드를 구축 및 실험하고 자신의 웹사이트를 호스팅할 수 있는 개인 공간입니다.
W3Schools Spaces를 사용하면 HTML, CSS 및 JavaScript로 구축할 수 있습니다.
브라우저에서 직접 코드를 편집하십시오.
파일과 이미지를 업로드하고 호스팅하세요.
지금 온라인에서 인지도를 높이십시오!
W3Schools Spaces로 구축해야 하는 이유
Spaces는 웹 개발자가 웹 개발자를 위해 만듭니다.
- 인터페이스는 간단하고 사용하기 쉽습니다.
- 브라우저에서 바로 파일을 호스팅하고 편집하세요.
- 무료 템플릿.
시작하는 것은 무료 이며 신용 카드를 입력할 필요가 없습니다.
코드 편집 및 미리보기
편집기는 사용이 간편하여 가장 중요한 사항에 집중할 수 있습니다.
다양한 미리보기 대안으로 사이트의 응답성을 확인하십시오.
사이트의 변경 사항을 실시간으로 미리 보십시오!

어디에서나 구축
클라우드에서 파일과 이미지를 호스팅하세요.
폴더가 있는 구조를 만들어 정리하세요.
필요한 모든 것이 브라우저에 있습니다.

무료 템플릿
반응형 웹사이트 템플릿을 찾아 사용하세요.
프로젝트에서 수정, 저장, 공유 및 사용하십시오.

The templates are powered by W3.CSS
What Do I Need to Know to Get Started?
HTML, CSS and JavaScript are the foundational languages to build a website.
- Create the structure with HTML. The first thing you have to learn, is HTML, which is the standard markup language for creating web pages. Learn HTML »
- Style with CSS. The next step is to learn CSS, to set the layout of your web page with beautiful colors, fonts, and much more. Learn CSS »
- Make it interactive with JavaScript. After studying HTML and CSS, you should learn JavaScript to create dynamic and interactive web pages for your users. Learn JavaScript »
Do not worry if you do not know how to code. The most important thing is to get hands on, early on. Learning how to code is best done with getting practical. Start to build something today!
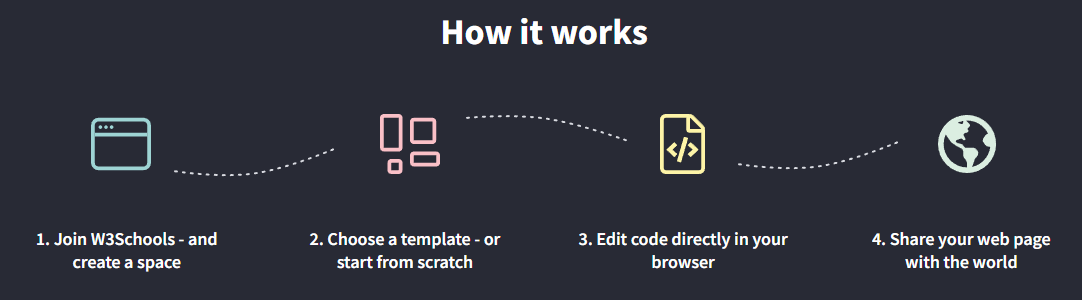
Lets Get Started in a Few Steps
Do you already have a W3Schools Account? If so, skip the first step
Step One: Sign Up For an Account
To be able to use Spaces you need to sign up and get your account.
Lets get you set up!
Go to - Click "Sign up" and enter your email and password, then click the "Sign up for free" button.

Remember to validate your account in your email. Check the spam filter if you cannot find the validation email in your inbox.
Get more information about how to sign up in our article - How to sign up
Step Two: Start with a template or HTML skeleton
Go to
Select one of the options and click the "Continue" button.
Do not worry too much about this decision. You can reset your Space and start over again whenever you want.

Step Three: Give your space a name
Personalize your Space by giving it an amazing name.
You can not use special letters in the name, such as (#, ! or :). The only exception is dash ( - )

The name will be the link that you share with others to see your site. For example: yourname.w3spaces.com
Step Four: Enter your space
Great job! you made it to the dashboard.
In the dashboard you get an overview of your spaces and usage.
Enter your space and its File Overview by clicking somewhere on the space's row or click the button with the three dots to the right inside the row.

You can only have one space with the free plan. However, you can always upgrade to get more spaces.
Step Five: Edit code or upload files
This is where the magic happens!
Start to edit code or upload files
- Edit code by clicking on the "Pen icon" to the right of the file that you want to edit.
- Create new files by clicking on the "New file" button.
- Upload files by clicking on the "Upload files" button.

Step Six: Publish your site and share it with someone
This is the start of building your online presence.
Learn, test, build, and go live with your space.
Create your website and share it with others.

Note: Your space name with the .w3spaces.com extension is your shareable link. Read more about how to share your space in this article How can I share my space?